Final Checks Before Launch ―
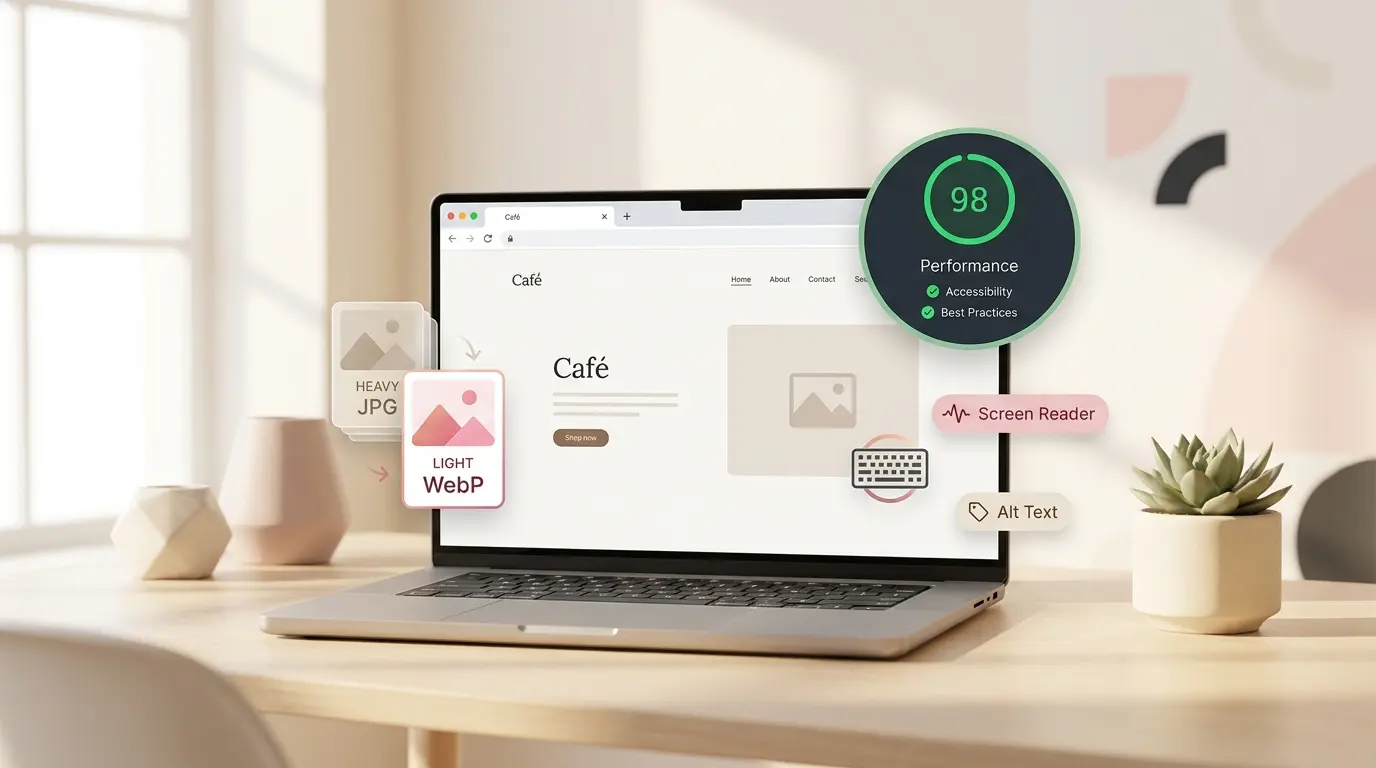
Accessibility and Performance
The design is polished, SEO is in place, and you're ready to hit "publish" — but take one more breath first. Is your site reaching everyone? Is it loading quickly? This is the final pass that turns café SOEL into a site that's truly ready to go live.
Quick Recap
- We added <meta name="description"> to shape how our page appears in search results
- We set up OGP tags so our site looks great when shared on social media
- We added JSON-LD structured data to tell search engines, "this is a cafe," in a machine-readable way
Last time, we polished the invisible layer — the "résumé" of our site that search engines and social platforms read. café SOEL can now introduce itself clearly to the world beyond human eyes.
This time, we zoom out. We'll look at our whole site through one final lens: quality. Is it usable for everyone? Does it load quickly? Is the HTML actually correct? Consider this our pre-launch inspection.
Goals for This Part
- Revisit ARIA and alt attributes so assistive technologies receive accurate information
- Add loading="lazy" to make images load more efficiently
- Check site quality with the W3C validator and Lighthouse
- Convert JPGs to WebP to make the page meaningfully lighter
See the Part 9 result →
What Accessibility Really Means
Accessibility — often shortened to a11y — literally means "reachability." On the web, it refers to designing so everyone can access information, regardless of age, vision, hearing, motor ability, device, or environment.
A person with low vision might navigate the web with a screen reader. Without meaningful alt text, your images communicate nothing. Someone who can't use a mouse relies entirely on their keyboard. If you've built a "button" out of a <div> instead of an actual <button>, they can't focus it or press it.
Accessibility isn't a special accommodation for a specific group. Think of someone checking their phone in bright sunlight, a parent holding a baby with one hand, a traveler on spotty Wi-Fi. Any of us, at any moment, can become "temporarily inconvenienced." An accessible site ends up being easier for everyone.
Accessibility is the craft of care. A single attribute you add might be tiny to you, but it can make all the difference to someone on the other side of the screen.
The good news? We've already done most of the foundational work. We chose semantic HTML in Part 2, wrote alt text in Part 3, used <button> and <a> where they belong, and respected heading hierarchy. What's left today is fine-tuning.
Rethinking Alt Text — From "What It Is" to "What It Does"
Let's start with alt attributes. We added them to every image back in Part 3, but at that stage we were mainly describing what the image contained. Now let's take one step further.
There's a core principle to remember: write alt text based on the role the image plays. The same photo can call for different alt text depending on the context.
<img src="img/hero.jpg" alt="image">
<img src="img/menu-coffee.jpg" alt="coffee.jpg">
<img src="img/logo.png" alt="logo"><!-- Hero: sets the mood of the whole site -->
<img src="img/hero.jpg"
alt="The open interior of café SOEL, with natural light pouring through large windows over wooden tables and leafy plants">
<!-- Menu: paired with product names, so the alt complements them -->
<img src="img/menu-coffee.jpg"
alt="A hand-drip coffee poured into a ceramic cup">
<!-- Logo: stands in for the shop's name, so write the name itself -->
<img src="img/logo.png" alt="café SOEL">A helpful test: close your eyes and imagine hearing only the alt text read aloud. "Image" or "logo" tells you nothing. "café SOEL" clearly identifies a logo. If the sentence doesn't stand on its own without the picture, the alt needs more care.
café SOEL's alt text from Part 3 was already quite solid. Today's work is really about adding just a touch more specificity so the scene comes through.
Adding Meaning to the Hamburger Button with ARIA
Remember the hamburger menu button we added in Part 6? It looks like three lines to us, but to a screen reader it's just "button" — with no hint of what it does or whether the menu is currently open.
This is where ARIA attributes step in. ARIA stands for Accessible Rich Internet Applications, and it's a set of attributes that fill in the gaps HTML alone can't cover — things like dynamic state and role.
We only need two basic ones today.
aria-label — naming the button
The button's contents are just three <span> bars. No text. A screen reader will simply announce "button." Adding aria-label="Open menu" changes that to "Open menu, button."
aria-expanded — broadcasting the state
Is the menu open or closed? Our eyes know instantly, but assistive tech needs us to say it explicitly with aria-expanded="true" or "false". The actual toggling will happen in the bonus JavaScript lesson (EX2); for now, we set the initial value to "false".
<button class="menu-toggle" type="button"
        aria-label="Open menu"
        aria-expanded="false"
        aria-controls="primary-nav">
  <span class="menu-toggle-bar"></span>
  <span class="menu-toggle-bar"></span>
  <span class="menu-toggle-bar"></span>
</button>
I also added aria-controls="primary-nav". It tells assistive tech that "this button controls the element with id="primary-nav"." So we also add a matching id to our nav element.
<nav class="nav" id="primary-nav" aria-label="Main navigation">
  <ul class="nav-list">
    <!-- unchanged below -->
  </ul>
</nav>loading="lazy" — Smarter Image Loading
Next up is an invisible tweak that has a very visible effect on perceived speed.
By default, browsers try to download every image on a page the moment you open it. But café SOEL is a fairly long scrolling page. Loading the images down by the footer before anyone has scrolled even once? That's wasteful.
Enter loading="lazy". This single attribute tells the browser: "Don't bother loading this image until the user is about to see it."
<img src="img/menu-coffee.jpg"
     alt="A hand-drip coffee poured into a ceramic cup"
     width="800" height="800"
     loading="lazy">
There's one critical rule: don't add loading="lazy" to the hero image.
The hero image is the first thing on screen — the visual first impression. We want the browser to prioritize loading it, not defer it. The rule of thumb is: does this image appear in the initial viewport? If yes, don't lazy-load it.
For café SOEL, the images that should get loading="lazy" are:
- img/concept.jpg (concept section)
- img/menu-coffee.jpg, menu-latte.jpg, menu-cake.jpg, menu-sandwich.jpg (four menu items)
- img/interior-01.jpg, interior-02.jpg (gallery)
- img/exterior.jpg (used twice, in gallery and access)
We leave img/hero.jpg alone, and we also skip the header and footer logos (img/logo.png). The logos sit in the initial viewport and are already lightweight, so normal loading is just fine.
HTML Validation — Is Anything Quietly Broken?
It's easy to miss a stray unclosed tag or a typo'd attribute. Your eyes aren't a reliable validator. Good thing the W3C runs a free one.
Open the W3C Markup Validation Service
Head to https://validator.w3.org/.
Paste your HTML directly
Choose the "Validate by Direct Input" tab, paste the full contents of index.html, and hit Check. Since your site isn't live yet, this is the simplest path.
Read the errors and warnings
Aim to get red Errors down to zero. Yellow Warnings need a judgment call — some matter, some are safely ignored. Read the message carefully and decide.
・A missing closing tag (like an absent </div>)
・Unquoted attribute values (class=hero instead of class="hero")
・The same id used more than once on a page
・Anything other than <li> sitting directly inside a <ul>
These often "work" in the browser anyway, which is exactly why they're so easy to miss. Fix them while you have the chance.
Run a "Site Checkup" with Lighthouse
Next, let's use Lighthouse — a tool built right into Chrome. It analyzes your page and scores it out of 100 in four categories: Performance, Accessibility, Best Practices, and SEO. Think of it as a health checkup for your site.
Open DevTools
With index.html open in Chrome, right-click anywhere and choose "Inspect." Or press F12 (on Mac, Cmd + Option + I).
Switch to the Lighthouse tab
Find the Lighthouse tab at the top of DevTools. Pick "Mobile" or "Desktop," then click "Analyze page load." After a short wait, you'll see four scores.
Read the scores and suggestions
Below each score is a list of concrete suggestions: "Images are missing alt attributes," "Image sizes are too large," and so on. Address them one by one.
Your actual run will look something like this. Accessibility, Best Practices, and SEO should be near-perfect. Performance, though, often lands in the orange zone at this stage. The reason is simple: the image files are just too big.
Which leads us perfectly into our next (and final) optimization.
Convert JPG to WebP to Shrink the Page
You might have noticed that the image assets from Part 1 were intentionally shipped as plain JPGs. That was on purpose — so you'd have a real "make it lighter" moment, by hand, right here.
Our tool of choice is WebP. Developed by Google specifically for the web, WebP keeps the same visual quality as JPG while being 20–40% smaller in file size.
The technical side is intricate, but the short version is: "It's a newer, smarter compression algorithm than JPG." Every major browser supports WebP now, so it's pretty much the default choice in professional work today.
That's the kind of savings you get from a simple format conversion. Multiply that across ten images and you're looking at several megabytes shaved off the page. For anyone browsing on mobile data, the felt difference is dramatic.
How to convert
Open Squoosh
We'll use Squoosh, Google's free image optimization tool. No installation, just the browser.
Drag and drop your JPG
Drop hero.jpg onto the Squoosh window. On the right panel, change the output format to WebP, and set Quality somewhere between 75 and 80.
Convert and download
At the bottom right you'll see "Original size → New size." Check how much you saved, then hit the download button to save hero.webp. Do the same for every JPG photo. Leave the logo (.png) and favicon (.svg) as they are.
Place them in img/ and update your src attributes
Move the .webp files into your img/ folder, then update every src="img/xxx.jpg" in index.html to src="img/xxx.webp".
<!-- Before -->
<img src="img/hero.jpg" alt="..." width="1920" height="1080">

<!-- After -->
<img src="img/hero.webp" alt="..." width="1920" height="1080">
One exception: keep the OGP image (img/ogp.jpg) as JPG. Some social platforms still don't handle WebP reliably, so JPG remains the safer choice for that one file.
Now run Lighthouse again. That orange Performance score? It should slide noticeably toward green. Watching the numbers climb is genuinely satisfying.
The Final Checklist
Before we call it done, let's walk through everything one more time.
- Every <img> has meaningful alt text
- Purely decorative images use alt="" (if you have any)
- The hamburger button has both aria-label and aria-expanded
- Every image except the hero has loading="lazy"
- Images are converted to WebP and the src attributes are updated
- The W3C validator reports no errors
- All four Lighthouse scores are 80 or higher (aim for 90+)
- The layout holds up at mobile, tablet, and desktop widths
- You can reach every link and button using only the Tab key
If every box is checked, your café SOEL site has reached "ready to ship" quality.
Confirm the Finished Site
Save your files and refresh the browser. Visually, it looks almost identical to Part 8. But under the surface, this version reaches screen reader users, search engines, and visitors on slow mobile connections in a way the previous version couldn't.
See the Part 9 result →
See the final demo →
Does your screen look the same? Go ahead and run Lighthouse on your own copy — seeing your own numbers is part of the fun.
By the way, CSS hasn't changed since Part 7. The only edits in this part touched index.html — specifically the image elements and a few button attributes. A small diff, but a huge jump in overall quality.
The site you started from absolutely nothing has reached publishable quality. You can now call yourself someone who makes websites.
What You Learned
- Accessibility isn't a special accommodation — it's design that makes your site easier for everyone
- Write alt text based on the role the image plays; use alt="" for purely decorative images
- aria-label and aria-expanded give the hamburger button both a name and a state for assistive tech
- loading="lazy" on below-the-fold images makes the initial page load noticeably lighter
- The W3C validator catches broken HTML, and Lighthouse gives you a four-category health check
- Converting JPGs to WebP via Squoosh cuts image weight by 20–40% — big wins for very little work
- café SOEL is now at "ready to ship" quality. Next time, we finally put it online